Team and Settings
What It's For
Team and Settings holds your internal team roster and the switches that change how the whole install behaves: brand safety terms, health reporting, business hours, background services and which AI model each agent uses. In the Operator Console, under Agency, open Team & Settings. The page has six tabs and opens on Team; the tabs do not have their own links, so you click to the one you need.
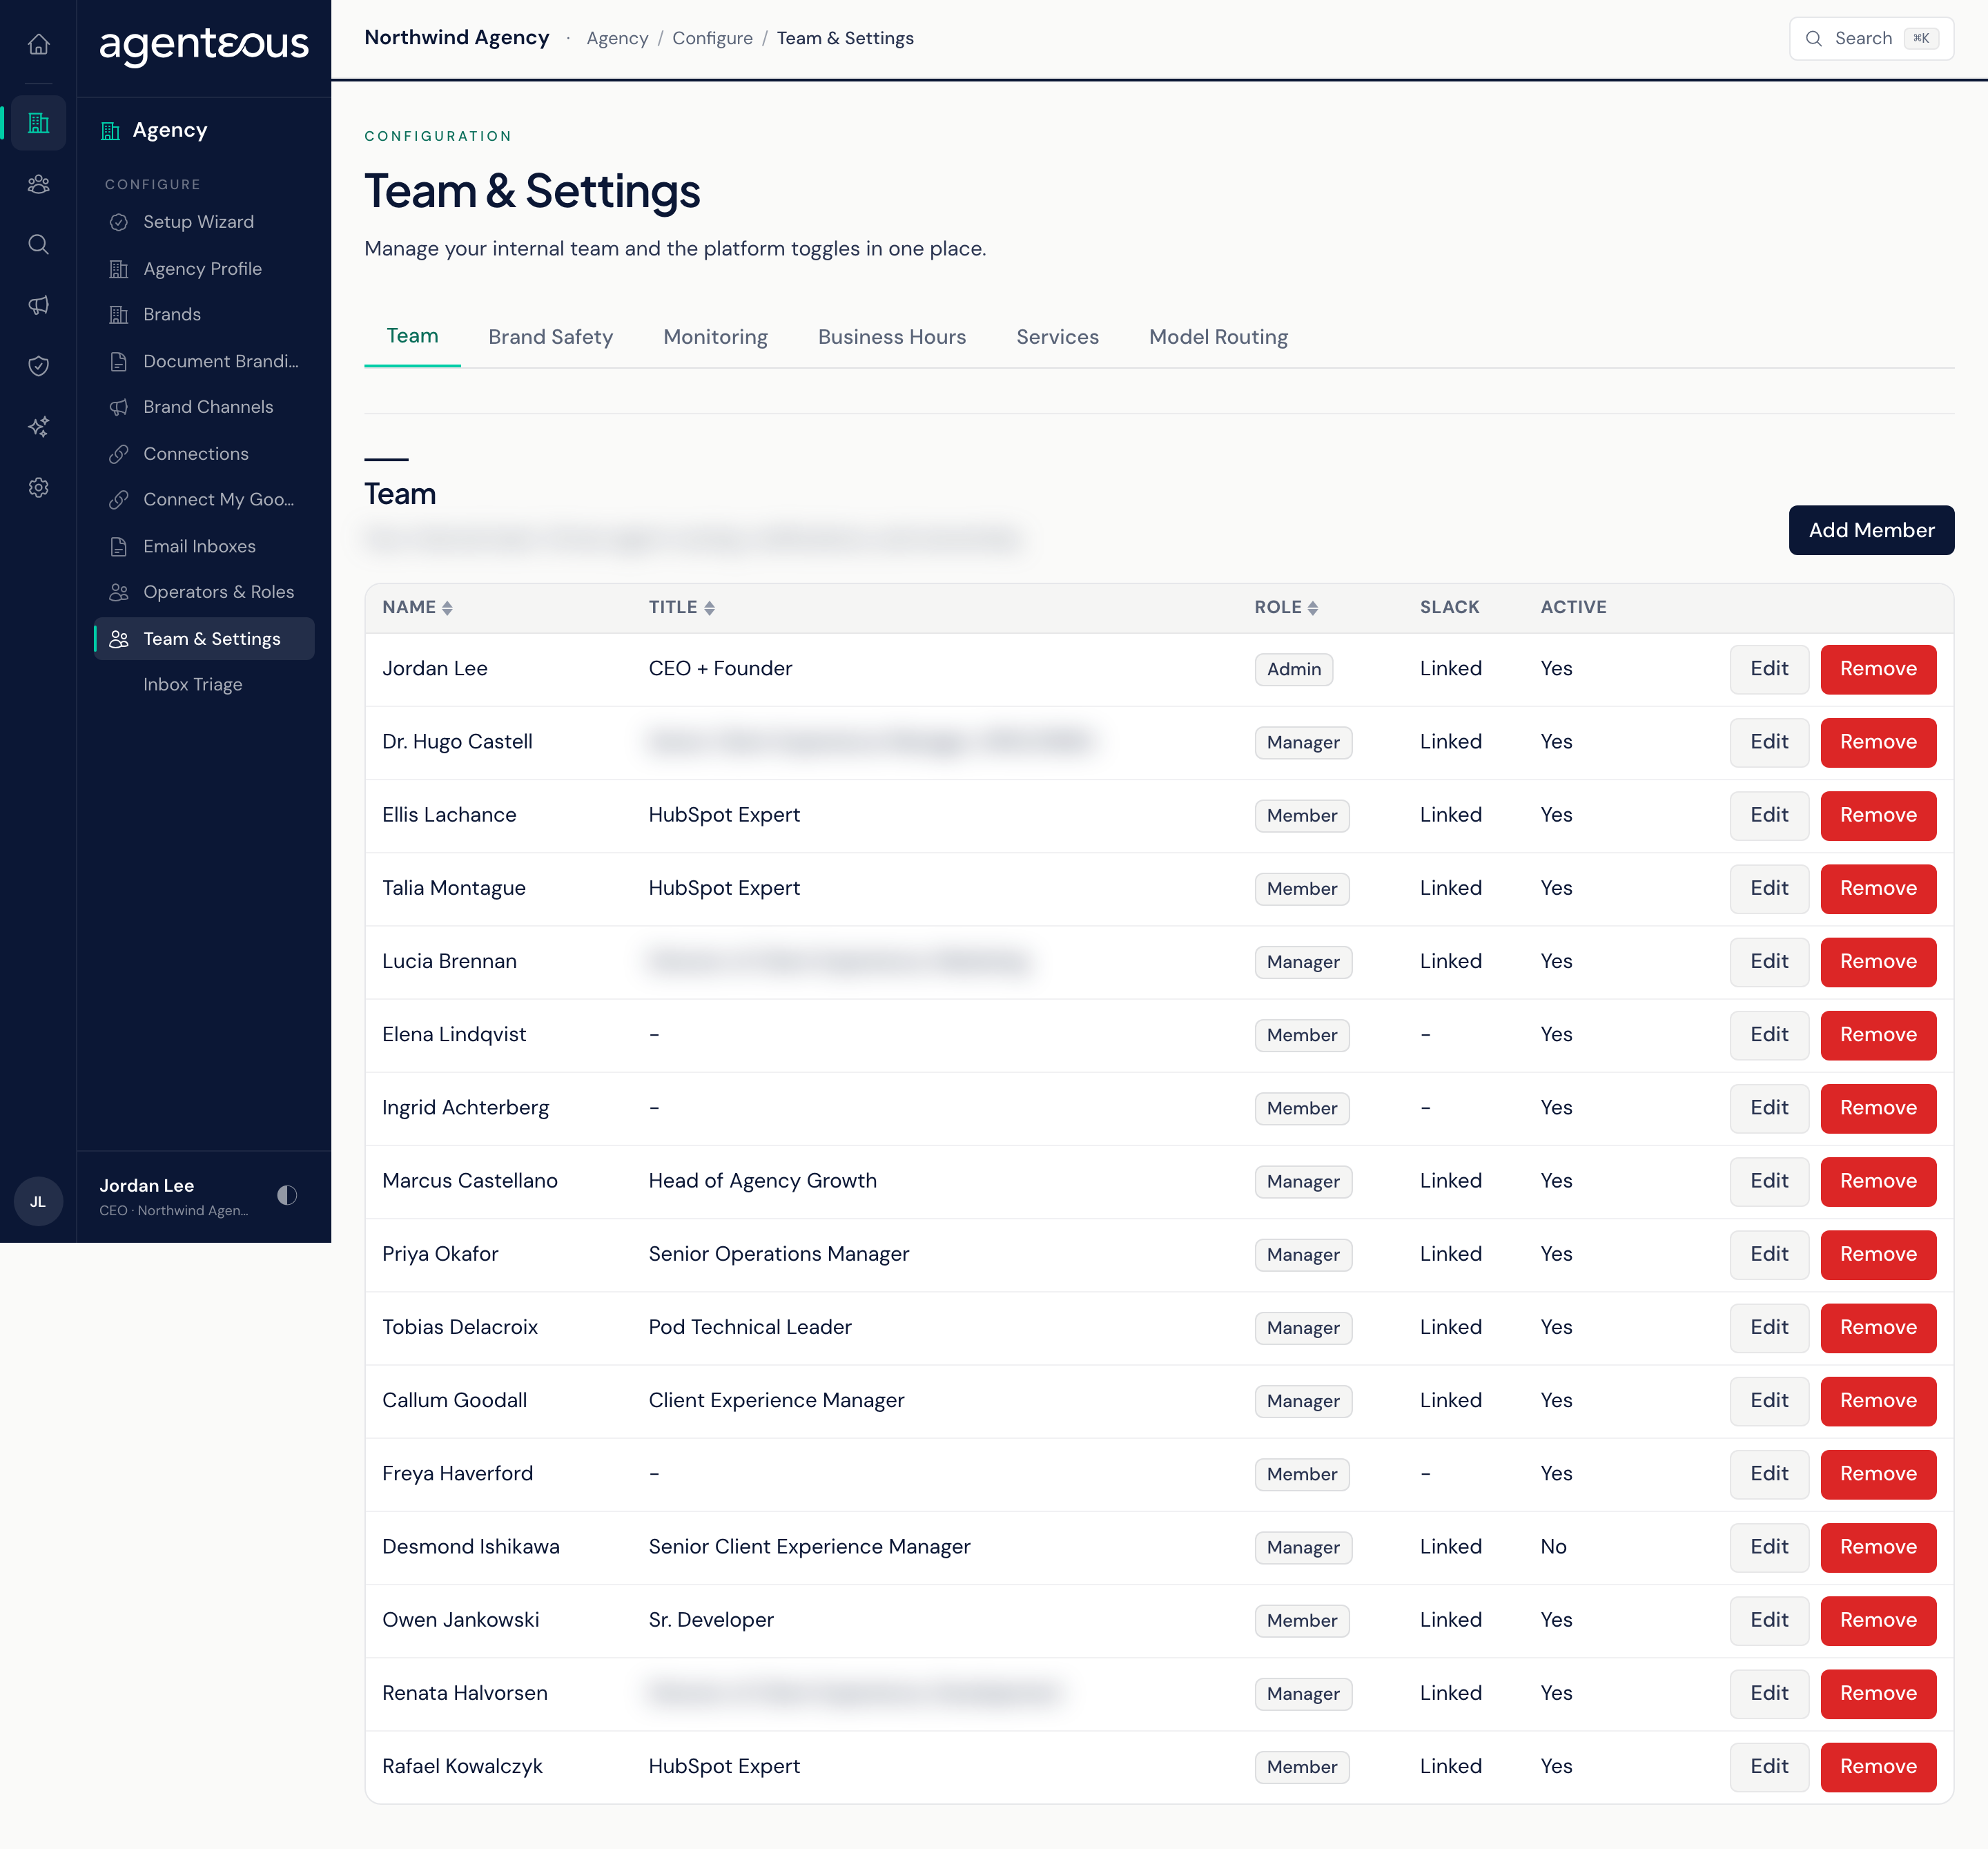
Team
Your internal team, which drives agent routing, notifications and ownership. The roster table shows Name, Title, Role, Slack (Linked when a Slack user is set) and Active.
Click Add Member, or a row to edit, to open the member drawer. It holds:
- Contact and identity: Name, Email, Title, Department, Timezone, Phone, Role, Slack User ID, HubSpot Owner ID, Calendar Email, PM User ID and Utilization Hours / Week, plus the person's work days.
- Flags: CEO, Time Tracking Enabled, Auto-Prospect Enabled, Salesperson and Can Approve Proposals.
- SLA: Track SLA + show card countdown, with Respond within and Breach after times. These become the response targets for mail in that person's inbox, and SLA Alerts sets where breach alerts reach them.
- Notifications: a delivery choice (Off, Slack, Email or Both) for each kind of notification the person can receive.
- Email triage: five switches, on by default, that shape how the Principal Assistant handles this person's mail: Smart reply gate (skip drafts you do not need to answer), Filter bulk / designed-HTML mail, Spam backstop (Gmail-flagged), Filter automated / no-reply mail and Auto-archive cold outreach.
The Role here is the person's role on your team. It does not decide what they can do in the Operator Console; that is set on Operators, Inboxes and Known Senders.
Click Save to keep your changes. Removing a member hides them from the roster but does not erase them.
Brand Safety
Three install-wide term lists, one entry per line: Competitors, Parent Company and AI Tells (stock phrases that read as machine-written). Click Save Terms to replace the lists.
Brand Guard is what reads these lists. When it checks a draft and finds any listed term, it rejects the draft and raises an urgent alert, whatever its other findings. The on-screen hints say such drafts are "held for review" and that every agent scrubs them; in practice the result is a rejection from Brand Guard, and Brand Guard is the only check that uses the lists. Per-brand phrasing rules live under Brand Compliance.
Monitoring
Fleet Monitoring controls how this install reports its health:
- Monitoring Enabled: when off, the install stops reporting.
- Refresh Interval (Seconds): 10 to 3600.
- Heartbeat Interval (Seconds): 30 to 7200.
- Request Timeout (Seconds): 1 to 120.
Click Save. Changes take effect after the monitoring client restarts, so ask whoever looks after the install to restart it.
Business Hours
The hours your team is open. Outside them, SLA clocks pause and routine notifications wait until you reopen; the Work Queue also takes the hours into account when it ranks items.
Set Business Hours Enabled, Timezone, Work Start, Work End, Work Days and Holidays (use Add for each date), then click Save. When business hours are off, every moment counts as open and nothing is deferred. Business hours are off until you turn them on. The Deferred Queue count shows how many notifications are waiting for opening time.
Services
The background workers and schedulers on this install, listed with Service, Description, Vertical and Status (Enabled or Disabled), each with an Enable or Disable button. A change is marked Changes Pending. and does not take effect until the services are reinstalled and restarted on the install, so ask whoever looks after it to apply the change.
Model Routing
The agent settings table lists every agent with Agent, Vertical, Team and Model, with counts of agents and model overrides above it. This tab is for model overrides only: there are no feature switches. Click Edit to change an agent's AI model, then Save Changes. Leave the model blank to use the agent's default, which is tuned for its job; an Override badge marks agents set to something else. Changes apply on the agent's next run.
Who Uses It
- Ops Admin, Admin Operator, CCO: keep the roster current and change the install-wide switches. Only these roles can save on this page, and every save is recorded in the Audit Log.
- Team leads: review the roster so ownership, SLAs and notifications reach the right people.